
Tutorial: Install and Configure Zsh on Ubuntu
Using Oh My Zsh vastly improves Zsh and allows you to make your terminal behave, look and feel however you want
An essential tool for any developer is a text-based shell or command-line interface (CLI). Attempting to develop top quality software without making use of a CLI is nigh impossible. These magnificent tools come in various flavours and standards. However, they all share a common goal: to provide instructions to your operating system.
Your choice of shell is largely constrained by the base operating system with UNIX based operating systems providing the largest degree of customisability. Windows users may find themselves stuck to using cmd and Powershell. However, Cygwin, Cmder and the new Ubuntu Subsystem may be utilised to provide temporary relief. More permanent relief is achieved by switching to Ubuntu (or similar) and so the rest of this tutorial assumes Ubuntu is being used.
One particularly excellent shell is Z shell (Zsh). On its own it is already a massive upgrade from bash.
Install Zsh
Installing Zsh is made incredibly easy by using a package manager. To install Zsh on Ubuntu run the following in your standard terminal (Ctrl + Alt + T):
sudo apt-get install zsh
Then, verify it has installed correctly:
zsh --version
Next we want to set it to our default shell:
chsh -s $(which zsh)
That's it, Zsh is now installed and set to your default shell. You may need to logout and log back in for the default shell setting to take effect. Upon opening a terminal again you will be asked some setup questions; select the option which populates your configuration with the default system administrator recommended settings.
Install Oh My Zsh
Oh My Zsh is an open-source configuration manager for Zsh. Using it vastly improves Zsh and allows you to make your terminal behave, look and feel however you want. To install Oh My Zsh run the following (from their website):
sh -c "$(curl -fsSL https://raw.github.com/robbyrussell/oh-my-zsh/master/tools/install.sh)"
This command executes an installation shell script retrieved via curl from the master branch of the Oh My Zsh Github repository. This script should manage everything for you and upon completion you should have a beautiful new terminal; another upgrade.
Install a Plugin
Next up, let's install an Oh My Zsh plugin: zsh-autosuggestions. This plugin is a life-changer and I'm unsure of whether I would be able to develop without it. It suggests in a light gray text what you are going to type based on your command history. This is extremely useful for those tricky grep commands or repetitive Git commands.
To install (based on their Install.md) run the following command (which utilises our previously installed Oh My Zsh):
git clone https://github.com/zsh-users/zsh-autosuggestions ${ZSH_CUSTOM:-~/.oh-my-zsh/custom}/plugins/zsh-autosuggestions
This command clones the latest version of the plugin to the custom plugins directory of Oh My Zsh using Git.
In order for this plugin to actually be used we need to add it to our .zshrc, the Zsh configuration file. To do this, open ~/.zshrc in your favourite text editor and add zsh-autosuggestions to your plugins array. It should look something like this when you're done:
plugins=(
  git
  zsh-autosuggestions
)
Close and open another terminal session to see whether it has worked or not.
Conclusion
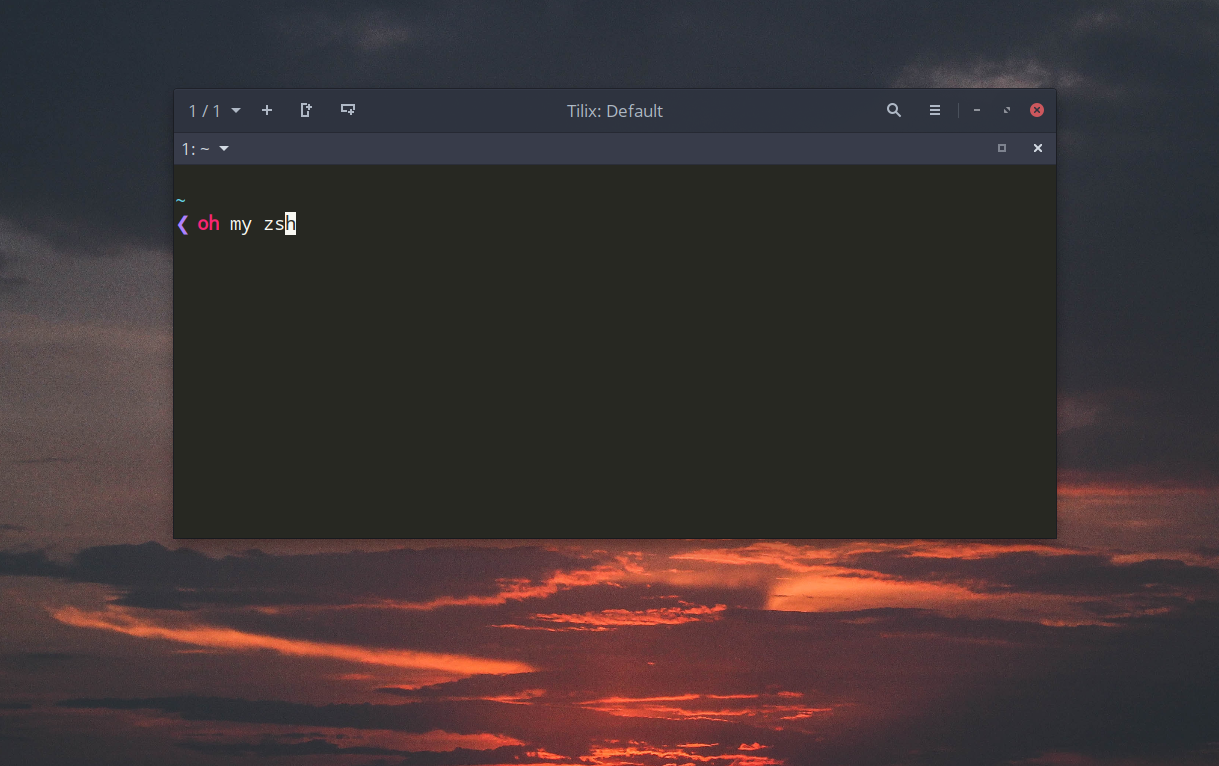
Your shell should now look something like this:
I hope this tutorial has helped you install and setup an amazing terminal tool. Out of the box, it should already be a vast improvement over almost anything else. The options for further customisation and extension are limitless and I leave that up to the reader to explore. If you find any plugins or themes particularly useful please share in the comment section below.
