
OpenVPN vs Wireguard - Network Performance Tests
A comparison between OpenVPN and Wireguard using iperf3 network tests.


I've recently been looking into ways to speed up data transfer between nodes on a VPN. My goal was to find the fastest VPN service for a high amount of network threads and a large amount of data transfer in a short period of time.
I started reading about the options online and came to the conclusion that the two best suited for the job would be OpenVPN and WireGuard. So I wanted to put the two to a test to see how they perform using iperf3 as the tool to analyse them.
One of the most important things is that I didn't want to limit the tests to a single thread. The reason for this is because it's really easy to get multi-threaded architecture these days and I would definitely use them in the real-world.
The tests I ran involved 3 nodes, 1 server node and 2 client nodes. The goal was to create a system that looked like this,

I would then run iperf3 between client-1 and client-2 to gauge the speed of the VPN.
I also wanted to test performance between tcp and udp for OpenVPN so I set up both servers and tested both protocols for the sake of completeness.
The Setup
I used nodes from Digital Ocean to set up the tests. The full setup of the OpenVPN and WireGuard server and clients can be seen at the bottom of this post in the Detailed System Setups section.
The Tests
Okay so each system was setup in the same way, iperf3 was installed, and I was ready to run the tests over each system. I'll start with the generalised overview, this is basically an aggregation of all of the tests to show how much data was transferred over a certain period of time as well as the error rate.

Already, I'm surprised by the fact that OpenVPN tcp seems faster than OpenVPN udp. So you'll need to take this with a pinch of salt but you'll also see that tcp did not complete as many tests as udp so it may be faster in some cases but it is more unstable at that speed. But here is the calculation of the received bytes divided by the total transfer time (larger is better),

Again, I'm not sure if you can treat this as entirely accurate because the udp traffic should definitely be faster than tcp. However, what you should be able to take from this is that WireGuard outperforms OpenVPN by a large margin.
The next step was to check what the error rate was. This isn't your standard bit error rate (BER) because I am not looking at received bits that arrived in error, what I'm looking at is the difference between the bits sent and the bits received divided by the total number of bits received. The error rates are demonstrated below (smaller is better),

WireGuard seems to be a lot better at handling packets under high load compared to OpenVPN. But I think it's important to dig into the results a bit deeper. We need to see which systems performed better under different loads to see if there's maybe a pattern to pull out from this.
Detailed Results
This first graph may come across a bit confusing, so you'll need to over over different batches to get the actual test name (eg. openvpn-tcp, openvpn-udp, wireguar). What this graph shows is the speed given a certain number of open sockets on iperf3. The maximum number of sockets that I could open was 128 and you'll be able to see that in the graph. What you should also be able to see is that there are 3 distinct groups, first we see the OpenVPN udp results, then the OpenVPN tcp results, and finally we see the WireGuard results. The x axis (the Test ID) is not important in this case, what you want to see from this is the speed based on the number of open sockets.

Clearly, all of the systems are a lot faster with less sockets open. I think it's important to note the swing that WireGuard experiences as the sockets increase compared to the others. This may be the bottleneck in the future for WireGuard when users want to open a massive amount of sockets in one go. However, it's still much faster than OpenVPN and I doubt anyone would be concerned about that at this stage.
From that graph above, you may notice some gaps between each test. This means that a test wasn't completed. It implies that iperf3 received a termination command. Each test name (ie. openvpn-tcp, openvpn-udp, and wireguard) was run 600 times, when it failed, the results were not considered. Below is a graph of the number of completed tests against each test name,

Here we can see a big problem, the OpenVPN tcp test did not complete 174 of the 600 tests meaning that it may look good at face value but it was quite unstable during the tests.
To get an idea of the failure rates of tests, take a look at the graph below,

Out of interest, I wanted to see if the number of sockets made a difference to the completed number of tests (ie. Does it get worse as more sockets are opened?). The answer to that question is shown below,

From this graph, it makes even less sense why the tcp tests would fail. I think this experiment would need to be rerun to determine the issue there.
Conclusion
This was a basic experiment run using iperf3 over multiple system setups to determine whether OpenVPN or WireGuard would be a faster VPN. I found that WireGuard came out on top when it comes to speed by just over 100%. Although I do think there are errors in the OpenVPN tcp tests, I think the margin is still large enough to conclude that WireGuard is the fast of the two.
However, this should not drive you to use WireGuard over OpenVPN in all cases. What you need to keep in mind is that WireGuard is a new technology and has not been officially audited for security weaknesses. If you are transferring confidential information, I'd hold off on switching to this technology until the audit takes place.
If you'd like the raw data to play around with, let me know and I'll upload it here.
Appendix: Detailed System Setups
This section outlines my methodology used to set up the OpenVPN and WireGuard servers and clients. I don't think it's necessary to read through this section unless you'd like to ensure that the tests were run fairly.
OpenVPN Setup
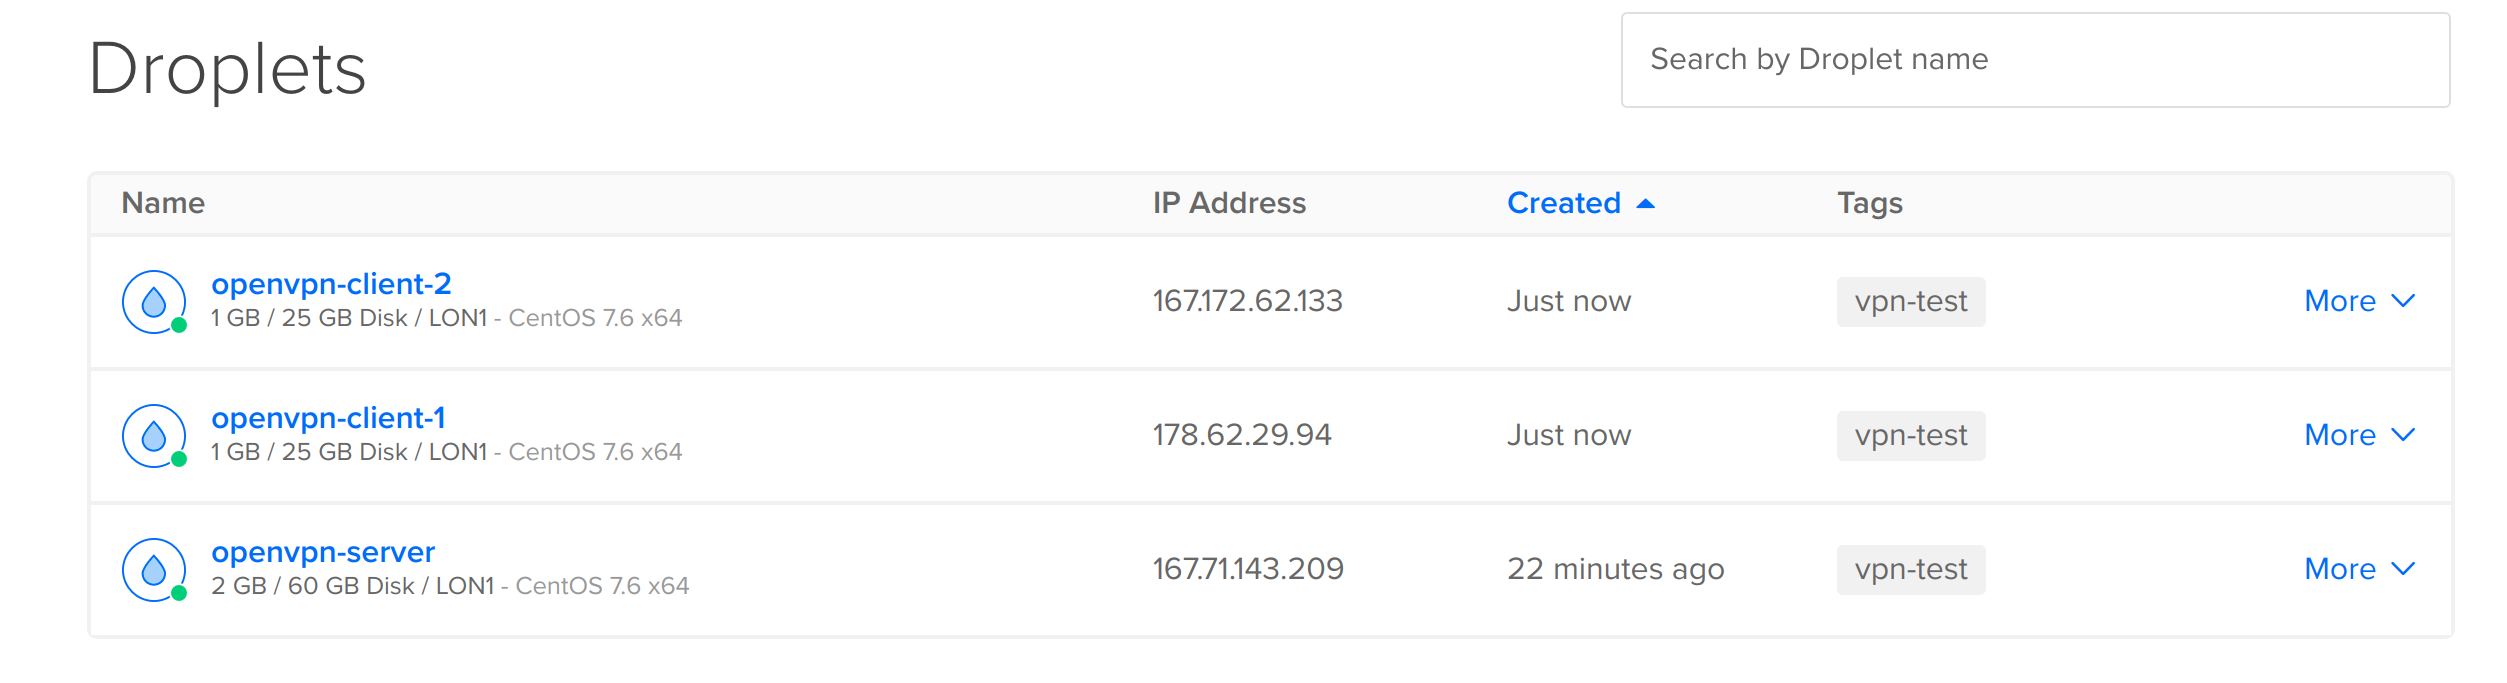
To start, I created 3 nodes on Digital Ocean. The server was more powerful than the compute nodes,

Once the server was up, I created two clients,

Now that the clients and server were ready, I was ready to set them up and connect them. Note: I installed these systems using root as I was only using them for testing purposes. Do not use this guide in a standard setup of OpenVPN.
First we're going to configure our server at 167.71.143.209.
In order to install OpenVPN, I needed to set up CentOS 7 with the correct libraries:
yum install -y epel-release
Once epel-release was installed, I could now install OpenVPN,
yum install -y openvpn easy-rsa ufw byobu vim
yum remove firewalld
ufw enable
ufw allow 22/tcp
yum update -y
Then we want to copy easy-rsa to the OpenVPN directory,
mkdir -p /etc/openvpn/easy-rsa
cp -a /usr/share/easy-rsa/3.0/* /etc/openvpn/easy-rsa
Now we want to generate the config,
cd /etc/openvpn
cp /usr/share/doc/openvpn-2.4.8/sample/sample-config-files/server.conf .
vim server.conf
It should look similar to this,
port 1194
proto udp
dev tun

ca ca.crt
cert server.crt
key server.key  # This file should be kept secret
dh dh2048.pem

topology subnet
server 10.8.0.0 255.255.255.0
ifconfig-pool-persist ipp.txt

push "dhcp-option DNS 8.8.8.8"
push "dhcp-option DNS 8.8.4.4"
push "dhcp-option DNS 1.1.1.1"

client-to-client

keepalive 10 120

tls-crypt myvpn.tlsauth
cipher AES-256-CBC

user nobody
group nobody

persist-key
persist-tun
status openvpn-status.log
verb 3
explicit-exit-notify 1
Then generate the auth key,
openvpn --genkey --secret /etc/openvpn/myvpn.tlsauth
Now we need to generate the certificates,
mkdir /etc/openvpn/easy-rsa/keys
cd /etc/openvpn/easy-rsa
./easyrsa init-pki
./easyrsa build-ca nopass

Common Name (eg: your user, host, or server name) [Easy-RSA CA]:server

./easyrsa build-server-full server nopass
./easyrsa gen-dh
Now we need to copy the files,
cp /etc/openvpn/easy-rsa/pki/dh.pem /etc/openvpn/dh2048.pem
cp /etc/openvpn/easy-rsa/pki/issued/server.crt /etc/openvpn/
cp /etc/openvpn/easy-rsa/pki/private/server.key /etc/openvpn/
cp /etc/openvpn/easy-rsa/pki/ca.crt /etc/openvpn/
Now set up the firewall to allow for connections,
ufw enable
ufw allow 1194/udp

vim ~/iptables_setup.sh
Paste the following into the file,
#!/bin/bash

modprobe tun
sleep 30;

eth=eth0
proto=tcp
port=1194

# OpenVPN
iptables -A INPUT -i "$eth" -m state --state NEW -p "$proto" --dport "$port" -j ACCEPT

# Allow TUN interface connections to OpenVPN server
iptables -A INPUT -i tun+ -j ACCEPT

# Allow TUN interface connections to be forwarded through other interfaces
iptables -A FORWARD -i tun+ -j ACCEPT
iptables -A FORWARD -i tun+ -o "$eth" -m state --state RELATED,ESTABLISHED -j ACCEPT
iptables -A FORWARD -i "$eth" -o tun+ -m state --state RELATED,ESTABLISHED -j ACCEPT

# Allow forwarding when it comes to the docker interface
iptables -A FORWARD -i docker0 -j ACCEPT
iptables -A FORWARD -i docker0 -o "$eth" -m state --state RELATED,ESTABLISHED -j ACCEPT
iptables -A FORWARD -i "$eth" -o docker0 -m state --state RELATED,ESTABLISHED -j ACCEPT
iptables -A INPUT -i docker0 -j ACCEPT

# NAT the VPN client traffic to the internet
iptables -t nat -A POSTROUTING -s 10.0.0.0/8 -o "$eth" -j MASQUERADE
iptables -t nat -A POSTROUTING -s 10.0.0.0/8 -j MASQUERADE
Make it executable and then execute it,
chmod +x ~/iptables_setup.sh
cd ~
./iptables_setup.sh
Now we need to edit the system config,
vim /etc/sysctl.conf
Add,
net.ipv4.ip_forward = 1
Then run,
sysctl -p
systemctl restart network.service
Start the OpenVPN service,
systemctl start openvpn@server
systemctl enable openvpn@server
The next step is to set up the clients,
Now we need to create the keys for client-1, on the server node run the following,
cd /etc/openvpn/easy-rsa
./easyrsa build-client-full client-1 nopass
Now we need to tar these files up and send them to the client using scp,
mkdir -p /tmp/client-1
cp /etc/openvpn/easy-rsa/pki/ca.crt /tmp/client-1/
cp /etc/openvpn/easy-rsa/pki/issued/client-1.crt /tmp/client-1/
cp /etc/openvpn/easy-rsa/pki/private/client-1.key /tmp/client-1/
cp /etc/openvpn/myvpn.tlsauth /tmp/client-1/

cd /tmp/client-1
tar -cvf /tmp/client-1.tar.gz .

scp /tmp/client-1.tar.gz [email protected]:~
Repeat this for client-2,
cd /etc/openvpn/easy-rsa
./easyrsa build-client-full client-2 nopass

mkdir -p /tmp/client-2
cp /etc/openvpn/easy-rsa/pki/ca.crt /tmp/client-2/
cp /etc/openvpn/easy-rsa/pki/issued/client-2.crt /tmp/client-2/
cp /etc/openvpn/easy-rsa/pki/private/client-2.key /tmp/client-2/
cp /etc/openvpn/myvpn.tlsauth /tmp/client-2/
cd /tmp/client-2
tar -cvf /tmp/client-2.tar.gz .
scp /tmp/client-2.tar.gz [email protected]:~
Now switch to the client node,
ssh [email protected]
tar -xvf client-1.tar.gz
yum install -y vim

vim client.ovpn
In this window, paste the following text:
client
tls-client
ca /root/ca.crt
cert /root/client-1.crt
key /root/client-1.key
tls-crypt /root/myvpn.tlsauth
proto udp
remote 167.71.143.209 1194 udp
dev tun
topology subnet
pull
user nobody
group nobody
Install OpenVPN,
yum install -y epel-release
yum install -y openvpn byobu iperf3 ufw
yum remove firewalld
ufw enable
ufw allow 22/tcp
Now connect to the VPN server, but start up byobu first so that we can have multiple sessions open,
byobu

sudo openvpn --config ~/client.ovpn
Repeat the steps above for the second client. Once the clients are set up, configure iperf3 for both of them.
First we need to install iperf to test network speeds,
yum install iperf3
Now we need to run it on client-1 in server mode,
iperf3 --server
In another session, run,
ufw allow from 10.0.0.0/8 to any port 5201
Now on client-2 start the tests,
iperf3 -c 10.8.0.2
If you want JSON output, run,
iperf3 -c 10.8.0.2 --json
We can run this in a loop, vim standard_test.sh,
#!/bin/bash

for i in {1..100}
do
   iperf3 -c 10.8.0.2 --json > "test${i}.json"
done
Make it executable and run it,
chmod +x standard_test.sh
./standard_test.sh
Now make a parallel test, vim parallel_test.sh,
#!/bin/bash
for i in {1..100}
do
 iperf3 -c 10.8.0.2 -P 10 --json > "test_p10_${i}.json"
done
Make it executable and run it,
chmod +x parallel_test.sh
./parallel_test.sh
Now make a 100 parallel test, vim parallel_100_test.sh,
#!/bin/bash
for i in {1..100}
do
 iperf3 -c 10.8.0.2 -P 100 --json > "test_p100_${i}.json"
done
Make it executable and run it,
chmod +x parallel_100_test.sh
./parallel_100_test.sh
Now make a 128 parallel test, vim parallel_128_test.sh,
#!/bin/bash
for i in {1..100}
do
 iperf3 -c 10.8.0.2 -P 128 --json > "test_p128_${i}.json"
done
Make it executable and run it,
chmod +x parallel_128_test.sh
./parallel_128_test.sh
Now make a 50 parallel test, vim parallel_50_test.sh,
#!/bin/bash
for i in {1..100}
do
 iperf3 -c 10.8.0.2 -P 50 --json > "test_p50_${i}.json"
done
Make it executable and run it,
chmod +x parallel_50_test.sh
./parallel_50_test.sh
Now make a 20 parallel test, vim parallel_20_test.sh,
#!/bin/bash
for i in {1..100}
do
 iperf3 -c 10.8.0.2 -P 20 --json > "test_p20_${i}.json"
done
Make it executable and run it,
chmod +x parallel_20_test.sh
./parallel_20_test.sh
WireGuard Setup
I set up the nodes on Digital Ocean the same way as the OpenVPN example. Then I started to configure the server node.
We'll start with installing epel,
yum install -y epel-release
Once epel-release was installed, I could now install OpenVPN,
yum install -y ufw byobu vim
yum remove firewalld
ufw enable
ufw allow 22/tcp
yum update -y
curl -Lo /etc/yum.repos.d/wireguard.repo https://copr.fedorainfracloud.org/coprs/jdoss/wireguard/repo/epel-7/jdoss-wireguard-epel-7.repo
yum install -y wireguard-dkms wireguard-tools
yum update -y
reboot
The reboot is really important because it updates the kernel headers that are currently active. Now we need to set it up, we'll create one a Wireguard network on the server and then connect all of the clients to them,
mkdir -p /root/wg
wg genkey > /root/wg/private
chmod ugo-rwx /root/wg/private
wg pubkey < /root/wg/private > /root/wg/public
ip link add wg0 type wireguard
ip addr add 10.8.0.1/8 dev wg0
wg set wg0 private-key /root/wg/private
ip link set wg0 up
wg showconf wg0 > /root/wg/config
Run,
wg
To find out which port it's running on, in my case it was 48053. For the clients, I have the following IPs, 167.71.142.167 and 157.245.47.224 so I need to allow them to connect,
ufw allow from 167.71.142.167 to any port 48053
ufw allow from 157.245.47.224 to any port 48053
Now get the public key,
wg show
Add client-1 and client-2 as peers (skip this step at first and return to this once client-1 and client-2 are configured),
wg set wg0 peer UZozbCnf0yQSQPuvsF6e4cAfnQF3qtj+DMLd9rsr5W8= allowed-ips 10.8.0.2/32 endpoint 167.71.142.167:47780
wg set wg0 peer eC4Jfdq8mkxNNXyxQrBHzvIniCLXZZqRblul5HnyazY= allowed-ips 10.8.0.3/32 endpoint 157.245.47.224:33444
Now save the config,
wg showconf wg0 > /root/wg/config
Now I moved tho the client nodes,
Install the nodes in exactly the same way as the server. Make sure that WireGuard is installed and running. Then allow the port (find that by running wg) on your firewall,
ufw allow from 178.62.17.72 to any port 47780
ufw allow from 157.245.47.224 to any port 47780
Using the public key from the server, set the peer,
wg set wg0 peer E31tVgkHowLnuRaxuKrn82fegxes5gyYQMiig0gJ5gY= allowed-ips 10.8.0.1/32 endpoint 178.62.17.72:48053
wg set wg0 peer eC4Jfdq8mkxNNXyxQrBHzvIniCLXZZqRblul5HnyazY= allowed-ips 10.8.0.3/32 endpoint 157.245.47.224:33444
For client-2 do the exact same setup with minor modification around the firewall and peer keys,
ufw allow from 178.62.17.72 to any port 33444
ufw allow from 167.71.142.167 to any port 33444
Using the public key from the server, set the peer,
wg set wg0 peer E31tVgkHowLnuRaxuKrn82fegxes5gyYQMiig0gJ5gY= allowed-ips 10.8.0.1/32 endpoint 178.62.17.72:48053
wg set wg0 peer UZozbCnf0yQSQPuvsF6e4cAfnQF3qtj+DMLd9rsr5W8= allowed-ips 10.8.0.2/32 endpoint 167.71.142.167:47780
Now create the same test files as the OpenVPN example and run them.
Edit: 1 May 2022 - I've converted the graphs to images, so the files with the data results are attached below.
